

How To Add Supports To 3d Prints
How to Generate Supports for 3D Printing

If y'all want to become into 3D press or only need assistance started out, you'll want to check out this tutorial on how to create supports for 3D printing using Meshmixer! We'll go over how to download the program and how to get started and so you lot tin can starting time making your 3D prints in no time.
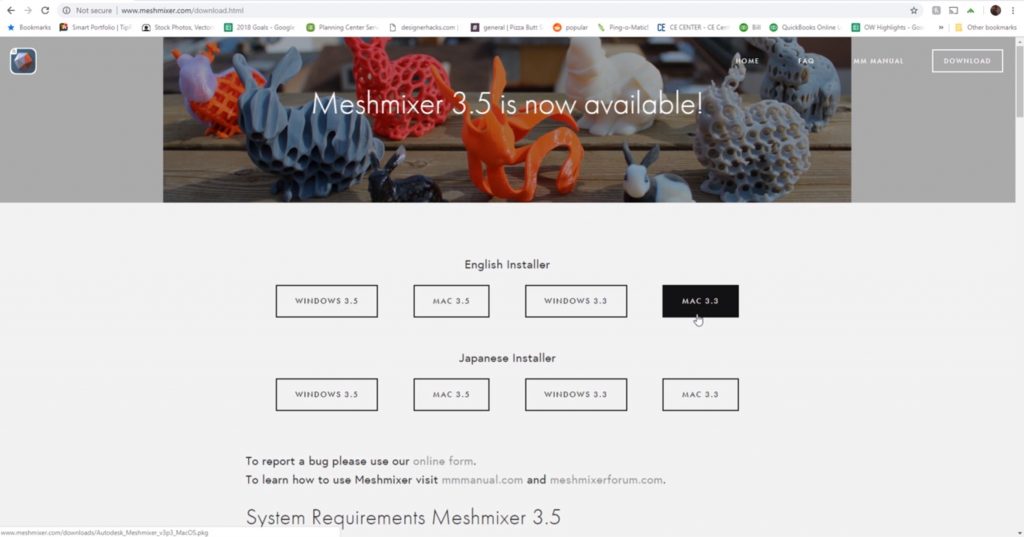
Download Meshmixer. To download Meshmixer, become to meshmixer.com. Click on the "download" push button in the upper right corner and and then select which installer y'all desire to employ. Once you lot've got that installed, open up Meshmixer.
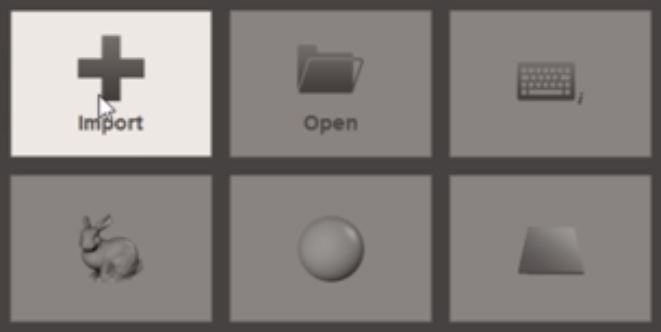
Import STL. Click on the "import" button to import your STL file. If you are working in Sketchup, there is a plugin you tin can employ to export STL files.
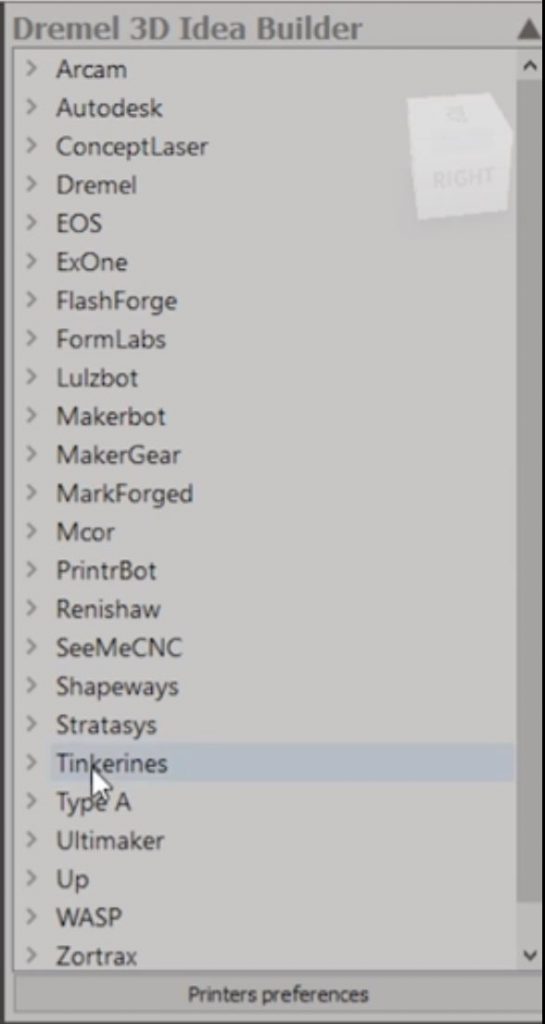
Change Print Bed. You lot don't have to practice this stride, but y'all tin can change the print bed if you desire to improve visualize what your printed object will look like. To do this, click on the dropdown bill of fare in the upper right corner and select the manufacturer and model of the 3D printer y'all are using.
Generate Supports for 3D Printing
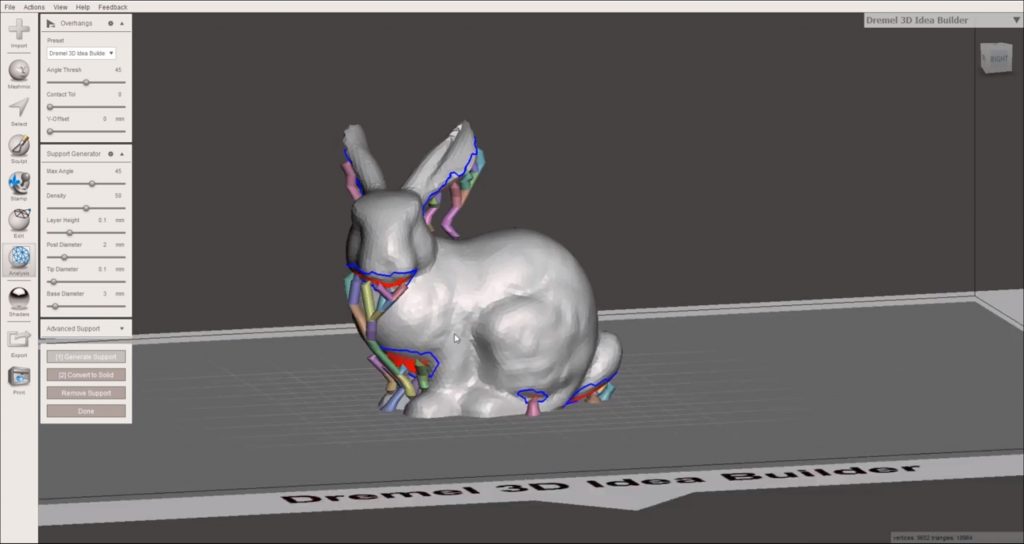
Analysis > Overhangs. First, select "analysis" from the right card and then click on "overhangs." Meshmix volition analyze your model and identify areas that may need extra support and highlight them in scarlet.
Presets. In the left card, there is a dropdown card for "presets." Select the preset for whatever model printer you are using. There are plenty of customizable options, merely nosotros're but going to focus on using a preset for now.
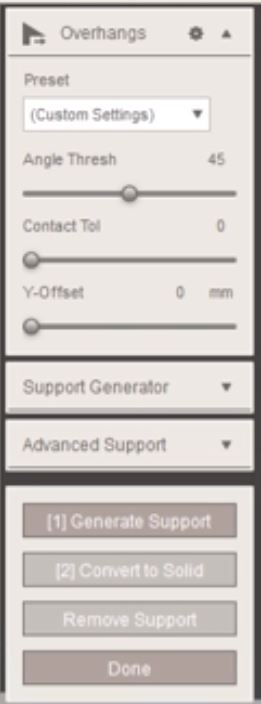
Underneath the custom options there is a push button that says "generate support." Click the push and Meshmixer volition generate supports for 3D printing the model.
File > Export > STL. Now all you have to do is export your file! Go to "file" > "export" and save your model as an STL file.
Tips and Tricks in Meshmixer
Creating supports is pretty simple, just using these unproblematic tricks in Meshmixer volition give you even more flexibility!
If you concord "shift" and click on a support, you tin can delete it. Or, y'all tin click on your model and drag to create your ain back up. You tin can also hold "shift" and click on an expanse of your model to automatically connect a support to that point.

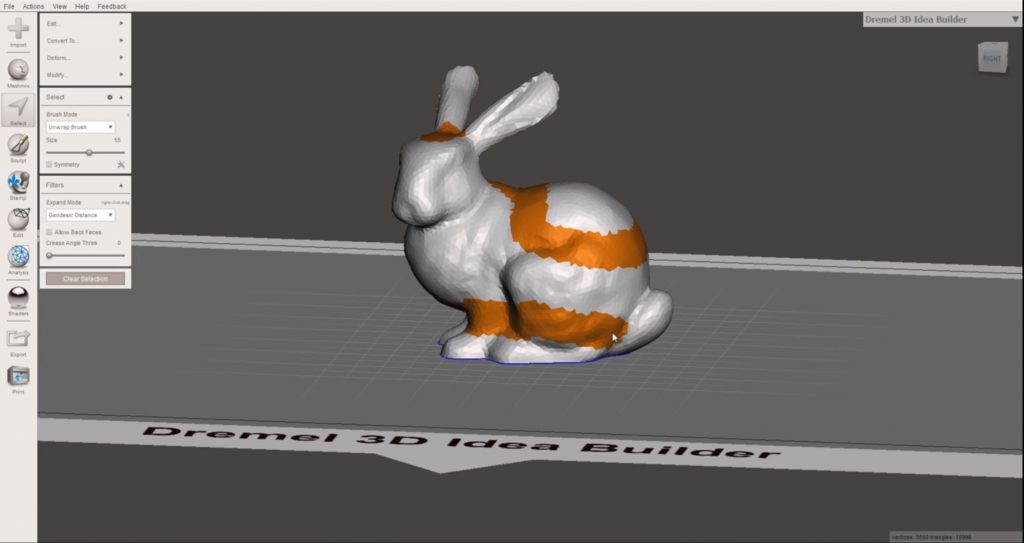
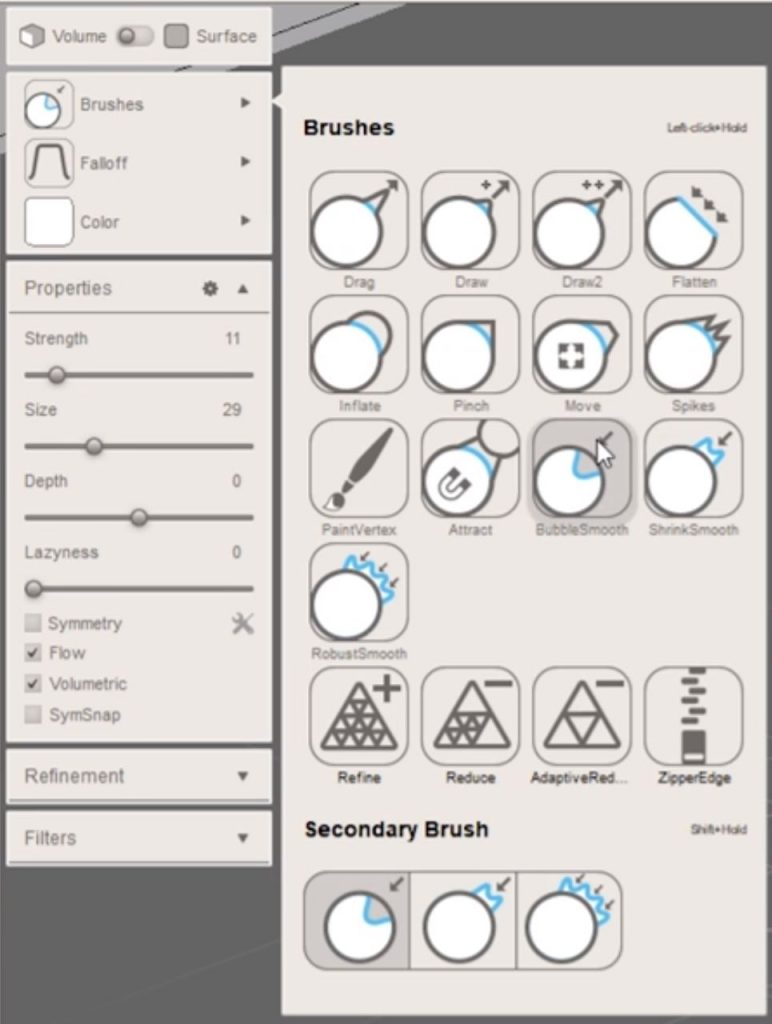
To sculpt into your model, apply the "select" tool and draw a path around the object. Then hit "delete." You lot will notice the edges are probably pretty jagged. To prepare this, click on the "sculpt" tool and select the "bubble smooth" brush. Adjust the size and strength to the advisable level and only click and elevate over the edges to smoothen them out.
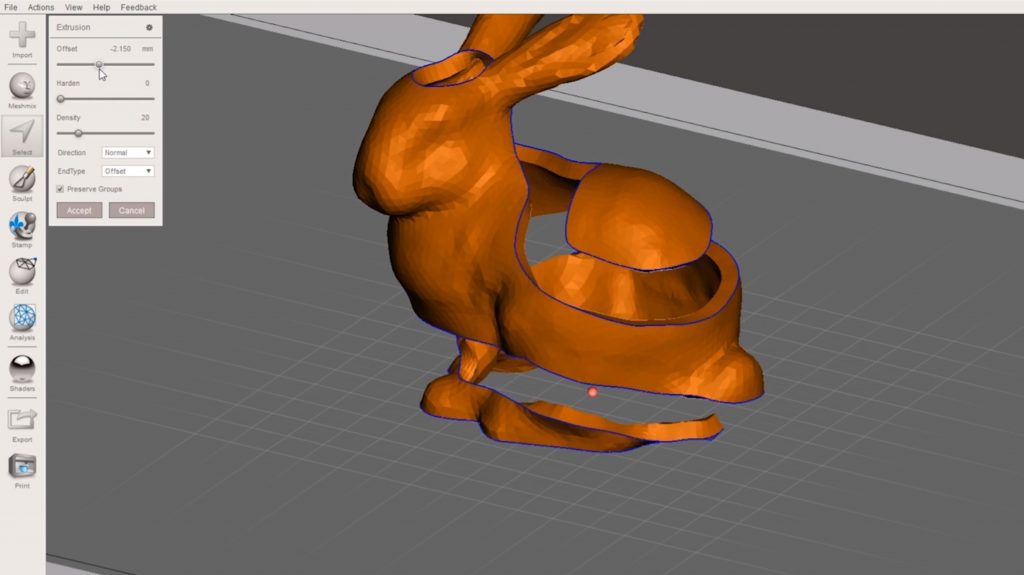
Hit "ctrl" + "A" to select everything. Click on "edit" > "extrude." In the "direction" dropdown carte du jour, select "normal." Use the "first" slider to adapt the thickness. Yous may have to go back and use the "bubble smooth" tool to smooth out any areas that need it.
Once you are done, echo the steps we mentioned in the beginning to generate your supports for 3D printing.
If yous found these tips helpful, be certain to cheque out check out our total list of tutorials for more nifty tips and tricks!

How To Add Supports To 3d Prints,
Source: https://designerhacks.com/how-to-generate-supports-for-3d-printing/#:~:text=Underneath%20the%20custom%20options%20there,model%20as%20an%20STL%20file.
Posted by: kimballcang1972.blogspot.com
0 Response to "How To Add Supports To 3d Prints"
Post a Comment